This article shows you how to improve the security of your Excel document with password. It seems that it’s becoming more and more urgent to protect one’s privacies from unauthorized accesses. As for protection, I think passwords are the first defensive lines of folders and files and an Excel document is no exception.
As you know, Excel passwords include a password used to open the document and one used to restrict modification. You are recommended to have an "open" password for it provides higher security. Of course, you can also have both of them. You can pick up how to create a password for your excel document as long as you finish the instructions below. Good luck.
Way 1: Create passwords for Excel documents
(Support Excel 2003/2007/2010 and take Excel 2007 as example)
1. Open the Excel 2007 document you want to protect.
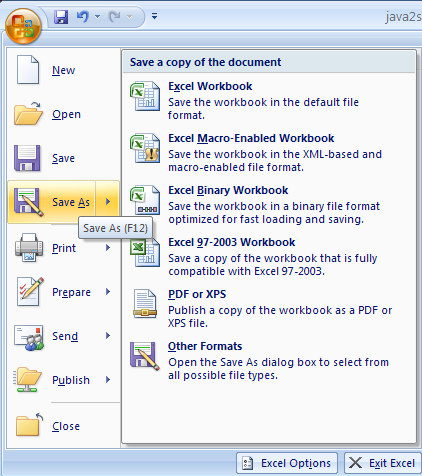
2. Click Windows Office button in the top left field.
3. Click Save As item. (At this point the "Save as" dialog box shows up.)
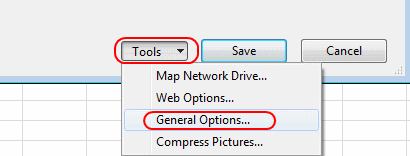
4. Click Tools drop-down menu in the bottom right field and select "General Options".
5. Once the "General Options" dialog box pops up, you can type the desired password in the "Password to open" box.
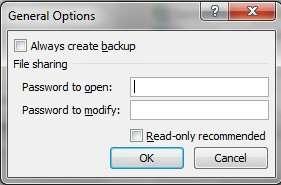
6. Moreover, in order to enhance the security, it allows you to create a password for modification in the "Password to modify" box, which enforces users to enter the right password before they can apply any change to the excel document.
7. Tick the "Read-only recommended" checkbox if you do not want users to modify the file. Once enabled, users can only open the document in Read-only mode, that is, they can’t do anything but read it. Any change can’t be saved to it but can be saved as a copy.
8. Click "OK".
9. On the pop-up "Confirm Password" dialog box, verify the password by entering it anew.
10. Click "OK" to continue.
11. Click the "Save" button to store the document to the original location, which might take place of the original file but that’s what you want. So if a dialog box pop up asking you whether you are sure to replace the existing file, you just click Yes to continue on.
Way 2: Another way to creating Excel passwords
(Support Excel 2003/2007/2010 and take Excel 2007 as example)
In addition, Excel allows you to create a password in another way, which is also very easy-to-master. See below:
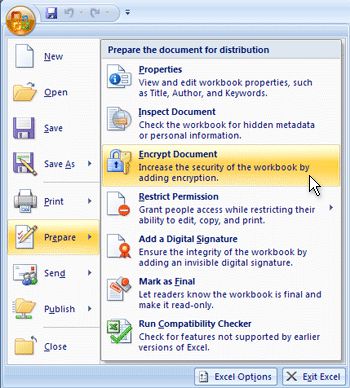
1. Click the "Windows Office" button.
2. Click "Prepare" and choose "Encrypt Document" option.
3. Enter a password and you are recommended to make it longer than 8 characters. (The "Confirm Password" box comes out.)
4. Type in the password again for verification and end up with an "OK".
Now you have set up password protection for your document.

