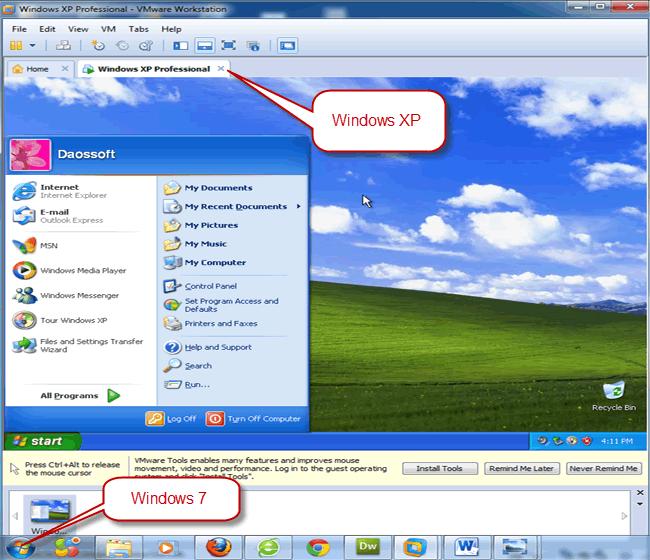
Virtual Machine is thought to be mysterious by many people. Actually, now virtual machine is widely used by computer users especially software developers and program lovers. Virtual system which is installed in virtual machine is usually used to test some programs. Even some people play computer games in virtual system instead of in the host system. With virtual machine one computer can run several systems at the same time without restarting the computer. Virtual system simulate a real system and it can run almost all programs that real system can. Well, maybe you have ever used the virtual system, but you may not install a virtual system by yourself.
Of course firstly you should install the VMware Workstation into your system which is called the host system. The way to install the VMware Workstation has no big difference from the way to install other software. There is no doubt that you also need to prepare an ISO image file or a system installation CD drive in your host system. In fact, installing a virtual system is similar to installing a real system, there is only some small differences.
Before installing a system you should create a virtual machine with virtual machine software. Please refer to detail procedures in "how to create virtual machines with VMware Workstation" to create a virtual machine. In which we can install a system and run applications. Now let’s take installing Windows XP system in VMware Workstation as an example to teach everyone how to install a virtual system in virtual machine.
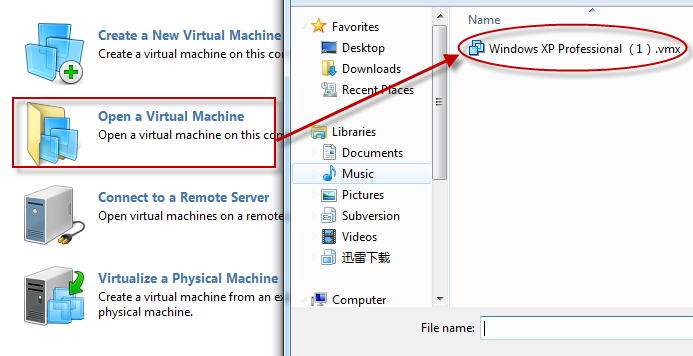
Step 1: Start VMware Workstation and click on "Open a Virtual Machine" to open a virtual machine you have created.
Step 2: Click on "Power on this virtual machine" on the left top of the start window and hold on "F2" as soon as you can.

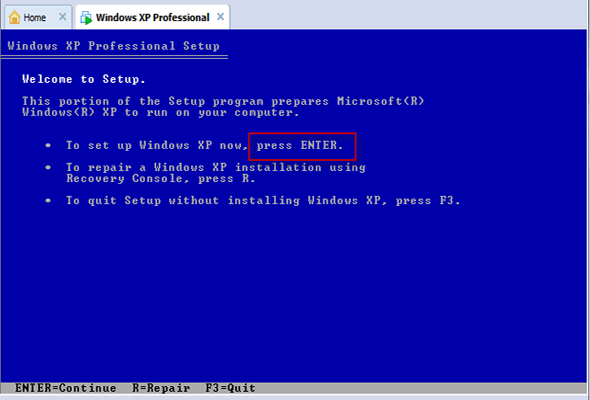
Step 3: Now you come to the "Windows XP Professional Setup" wizard. Press "Enter" to set up Windows XP. On the next window press "F8" to agree with Windows XP Licensing Agreement.
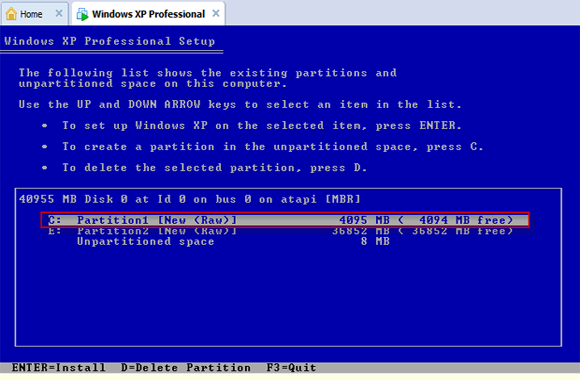
Step 4: If you don’t want to create a partition, press "Enter". Press "C" to create a partition.
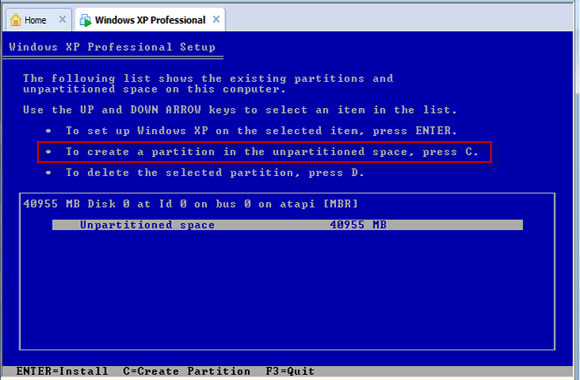
Step 5.: Enter a size in the highlighted place and press "Enter". By pressing up and down arrow keys you can select an unpartitioned space to continue creating other partitions. Without creating partitions is also ok for it is only a virtual system.
Step 6: Pressing up and down keys to highlight a partition in which you want to set up Windows XP then press "Enter".
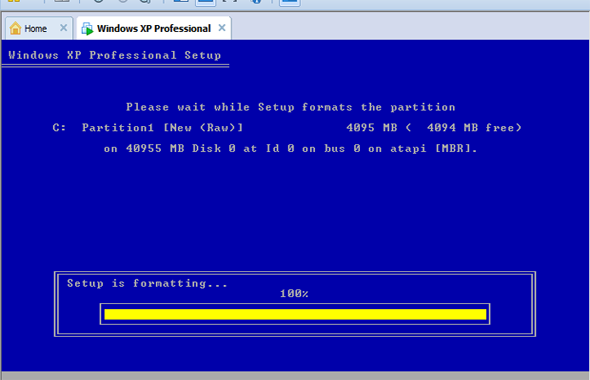
Step 7: Press "Enter" to format the partition you have just selected using the NTFS file system. And the setup will copy files to windows installation folders.
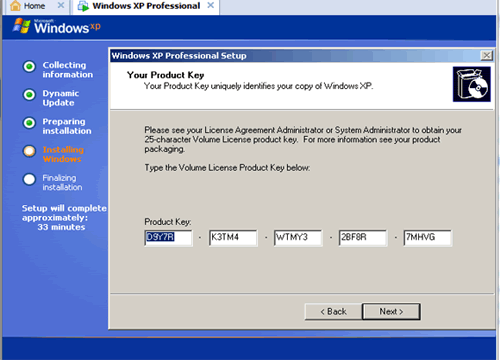
Step 8: Wait some minutes. In the following several steps you just need to click on "Next" and enter your name and your product key. Then click on "Next" and "Next".
 .
.
Some minutes later the system windows XP will be installed successfully in the virtual machine.
Note: Press "Ctrl+G" to direct input to your VM and press "Ctrl+Alt" to return to your computer.

