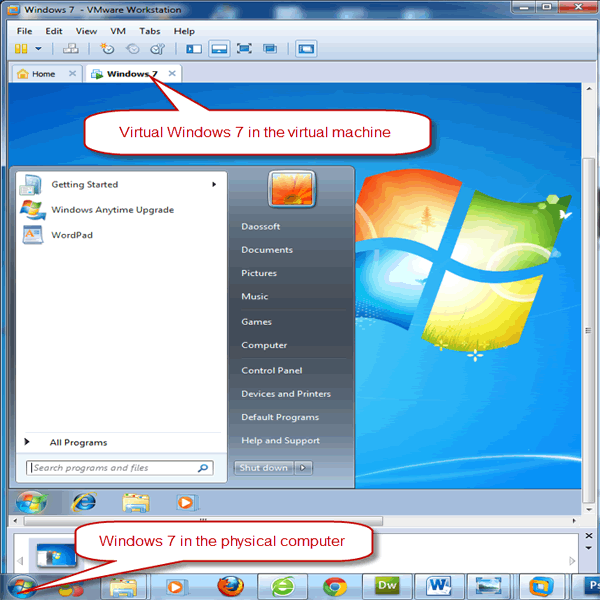
Virtual machine is well-known as its amazing function which makes it possible that one computer can run two or more systems at the same time. Without installing dual system computer users can use multisystem in one computer.
Although virtual machine and virtual system are widely- used by some people. Generally, we normal user don’t use virtual system so regularly. However, if your computer configuration is good enough you can have a try to create virtual machines with virtual machine software and install a system in a virtual machine by yourself. You will find it it is powerful. Take how to install Windows 7 system on VMware virtual machine with VMware Workstation as an example.
There are many kinds of virtual machine software given on the internet. VMware Workstation and Virtual PC are the most widely-used especially VMware Workstation. Get VMware Workstation and install it into your computer. The way to install is similar to the way to install other software.
After you install VMware Workstation successfully you can find its shortcut icon on your desktop. You just need double-click it to run the program so that you can create virtual machines. Learn How to Create Virtual Machines with VMware Workstation.
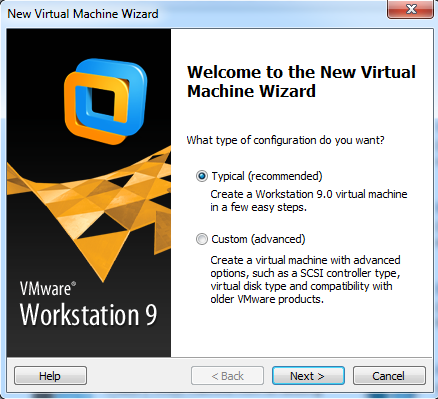
Step 1. Select "Typical" to create a virtual machine in a few steps. Then click on "Next".
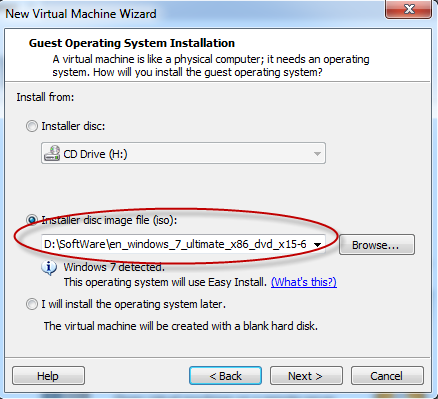
Step 2. Select "Installer disc image file(iso)" and write the "iso" file path in the text. Select "Installer disc" if you have plugged in a bootable CD drive. Then click on "Next".
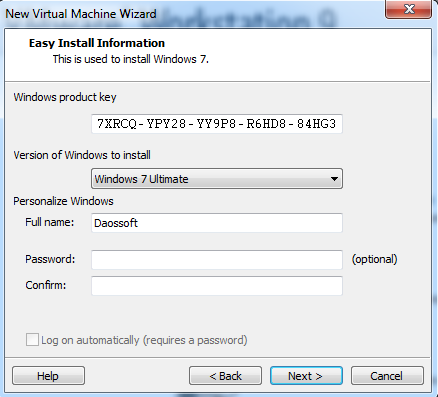
Step 3. Enter the Windows product key in the text and give a name for the windows. Then click on "Next".
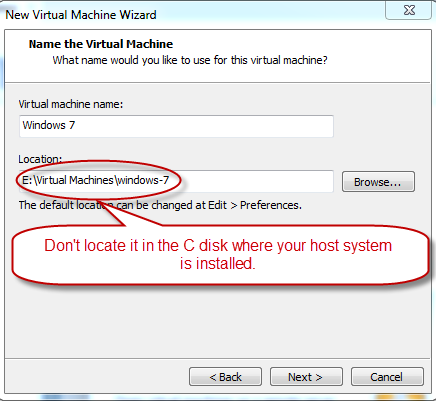
Step 4. Give a name to your virtual machine and locate it in a disk except the disk where your host system is installed. Then click on "Next".
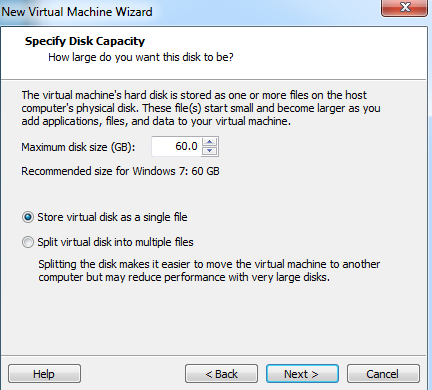
Step 5. Specify the disk size by clicking the up and down arrow keys. Select "Store virtual disk as a single file". Then click "Next". Finally click on "Finish" and a virtual machine has been created.
A single virtual machine without a system can’t help us work. So we should install a system so that we can operate the virtual machine. Before that you should prepare a Windows 7 iso image file or a CD drive.
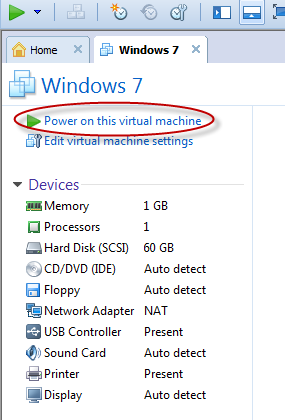
Step 1: On the left top of the start window, click on "Power on this virtual machine" to open the created virtual machine which is stored as a file whose file extension is ".vmx".
Step 2: Wait some minutes until completing installing.
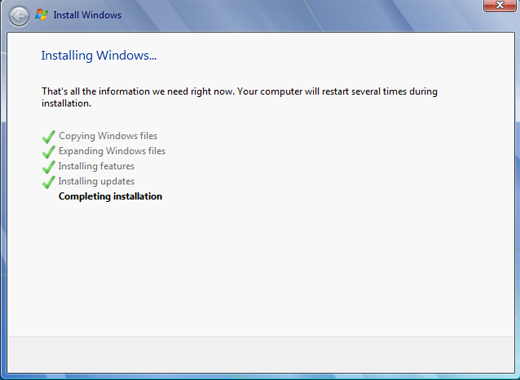
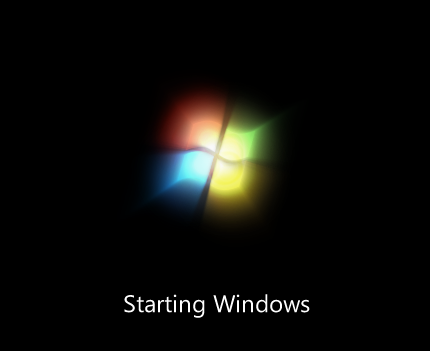
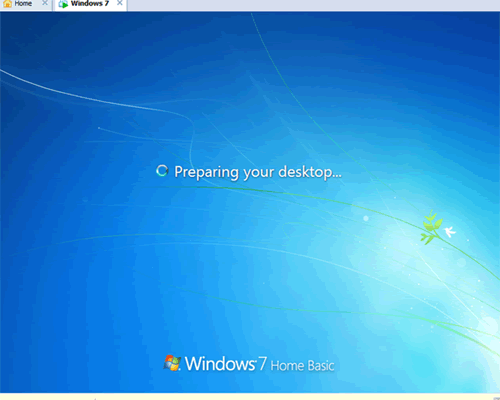
Step 3: After several minutes setup is starting Windows and checking the drive.
Step 4: The Windows 7 has been installed in this virtual machine. The next time you want to start the virtual system you just need to open the ".vmx" file with the virtual machine software.
Important: When you operate the virtual machine press "Ctrl+Alt" to switch to the VMware Windows from your host system. Actually installing a virtual system in virtual machine is very similar to installing a real system in your physical computer. However,you also can find the steps to install Windows 7 is more simple than the steps to install Windows XP on a VMware virtual machine.
Note: If your computer configuration is not good enough, running two or more virtual systems at the same time will make your physical computer run slower.

