This article shows you how to create a Windows 7 password reset disk and reset a password using it. I am so sure that you can solve your problems as long as you finish the following pictorial step-by-step guide. Good luck to you!
Not a Windows 7 user? See:
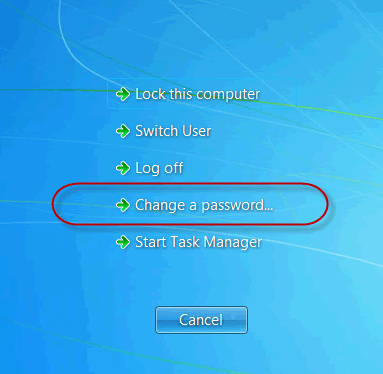
1. Press Ctrl+Alt+Del keyboard shortcut and choose the Change a password item.
2. Click the Create a password reset disk link on the bottom.

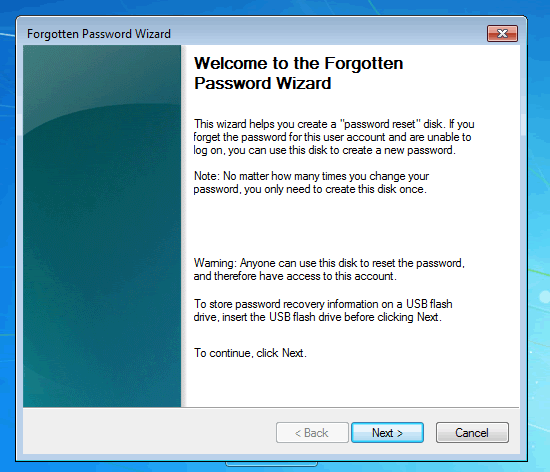
3. In the newly displayed window, click Next to continue.
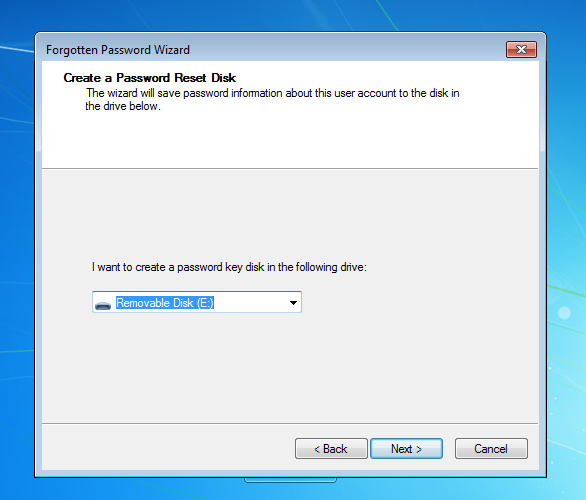
4. Choose the right drive name for the connected USB device or inserted floppy disk drive.
5. Enter the user account password.
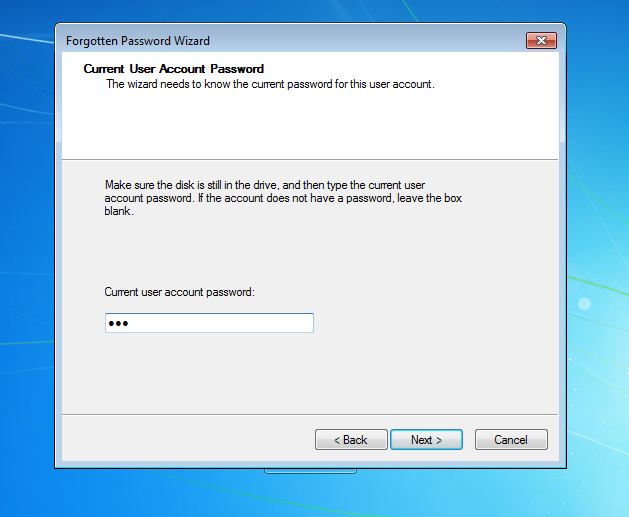
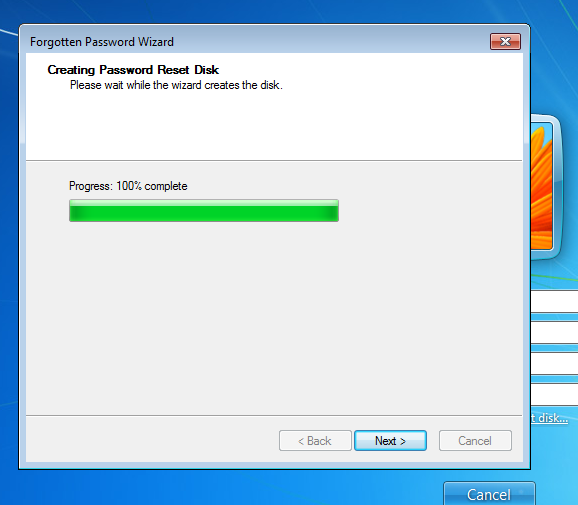
6. Once you get the disk completed, Click Next.
Next time you get your password lost or forgotten, please be calm and perform the steps below:
1. Go back to the logon screen and enter a wrong password. Next, click the Reset password link.
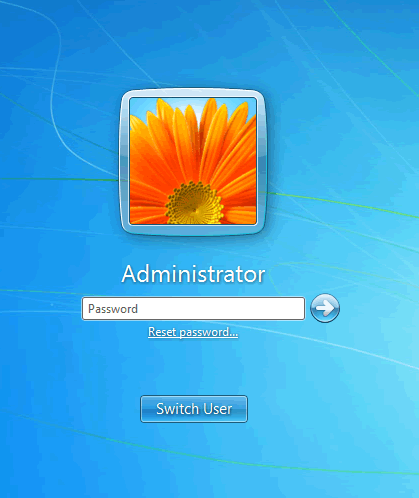
Note: This disk only applies to the particular user on your computer, that is, the user that you created a password reset disk for.
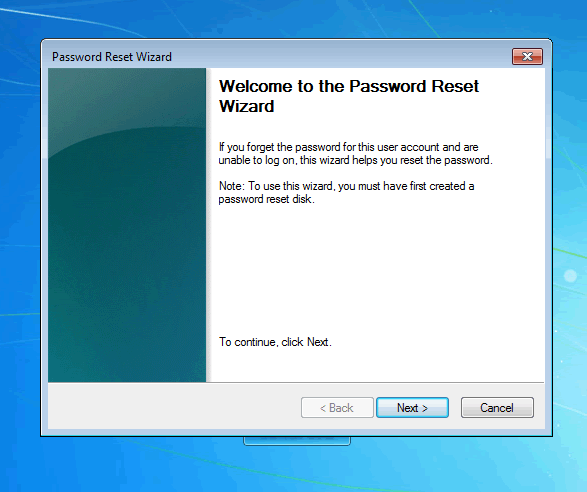
2. Click Next on the Password Reset Wizard dialog box.
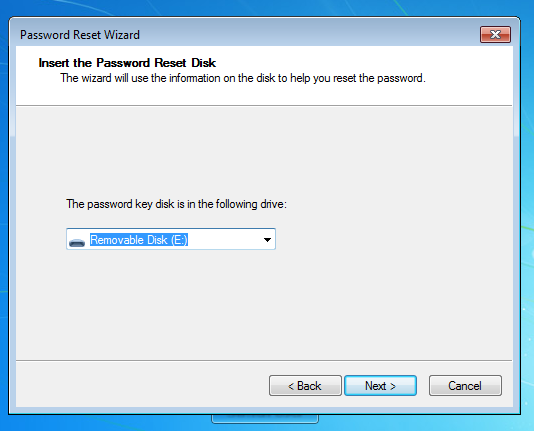
3. Choose the correct drive that you inserted.
Note: Only floppy disk drives and USB drives are supported.
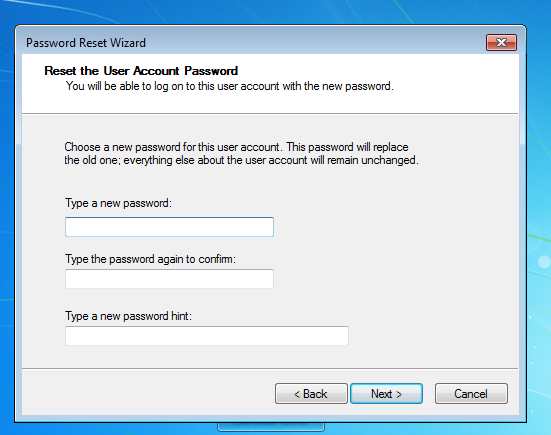
4. Type a new password and retype it for confirmation.
5. Great, what’s next is to click Finish.
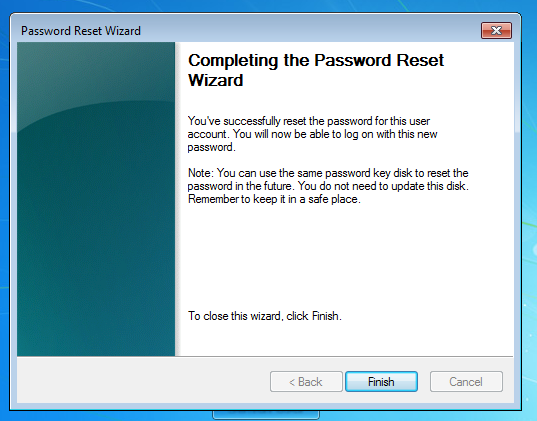
Now you can log on to you Windows 7 with the newly created password.
Daossoft Software

