Today Windows PE is not secret any longer. Traditionally used by large corporations and OEMs, it is now widely used by common customer. This article mainly tells you how to DIY a bootable Windows PE USB drive or CD/DVD.
Below is the definition coming from Wikipedia:
Windows Preinstallation Environment (AKA Windows PE and WinPE) is a lightweight version of Windows used for the deployment of PCs, workstations, and servers, or troubleshooting an operating system while it is offline. It is intended to replace MS-DOS boot disks and can be booted via USB flash drive, PXE, iPXE, CD-ROM, or hard disk drive. Traditionally used by large corporations and OEMs (to preinstall Windows client operating systems on PCs during manufacturing), it is now widely available free of charge via the Windows Automated Installation Kit (WAIK).
In my opinion, Windows PE is a micro system based on the kernel of Windows and is commonly used to troubleshoot or deploy.
What can it do?
What you should know:
1) This bootable disc works on most versions including Windows Vista, 7, 8 and the latest version: Windows 8.1.
2) It has been proved that it doesn’t work on Windows XP and maybe the earlier version.
Details:
Step 1: Download Window Automated Installation Kit (AKA: WAIK) ISO and Mount It with UltraISO
http://www.microsoft.com/en-us/download/details.aspx?id=5753
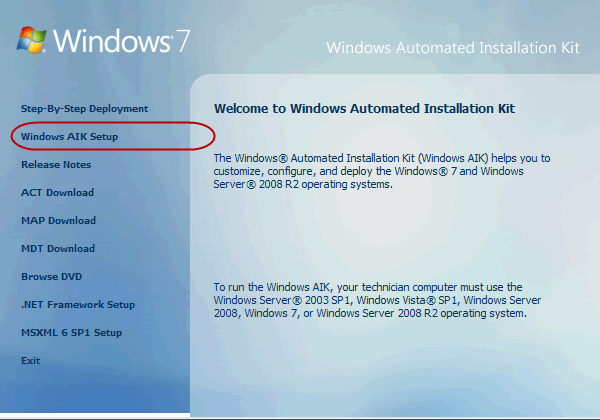
Step 2: Open the CD /DVD/BD and launch StartCD.exe
Step 3: On the Interactive Interface that you can see in the figure below, click Windows AIK Setup.
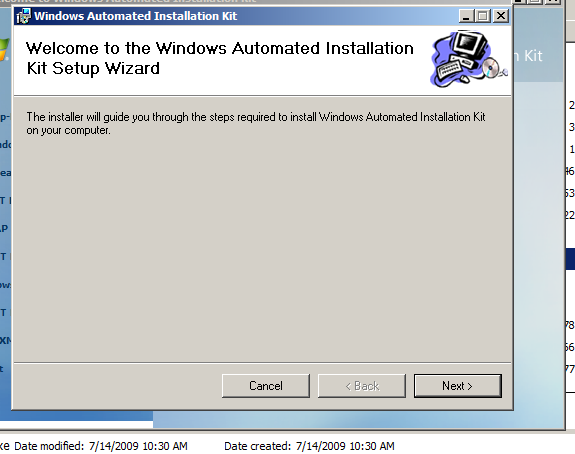
Step 4: Click Next to go on.
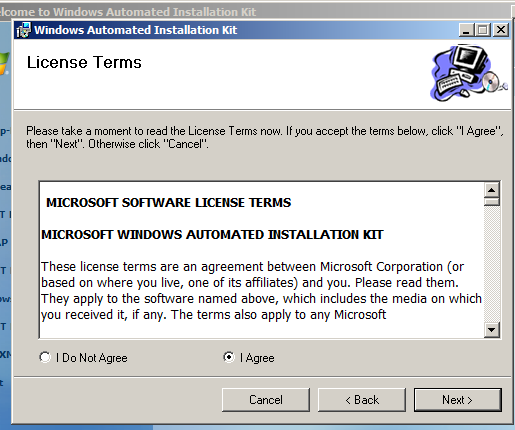
Step 5: Choose the option that says "I Agree" and click Next.
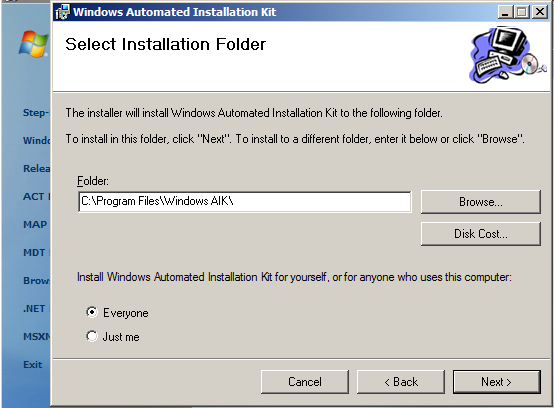
Step 6: Select the folder where the WAIK will be installed.
(Be installing…Please wait…)
Step 7: Click Next and then Close.
Step 8: Enter "de" in the Search box after you click the Start.
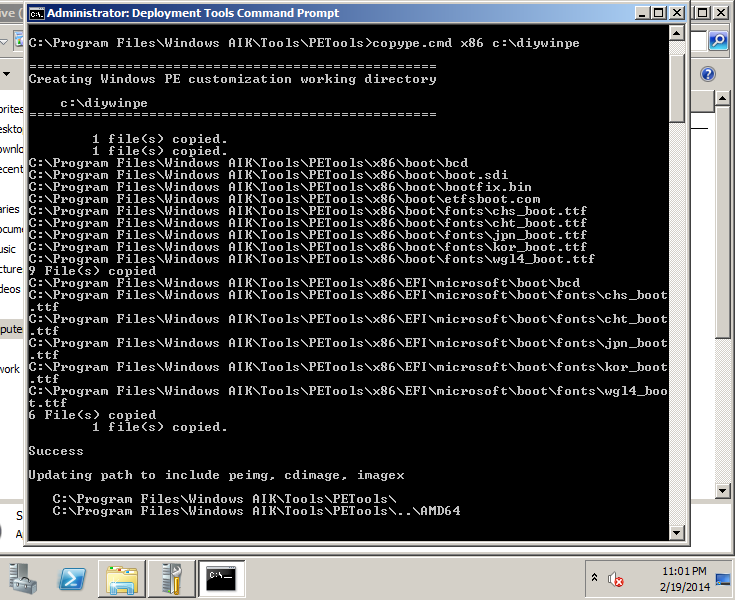
Step 9: Open the Deployment Tools Command Prompt and type in:
copype.cmd x86 c:\diywinpe [Enter]
Note: 1) x86 is one of the three architectures: x86 amd64 and ia64. You should make a choice according to your actual situation.
2) "c:\diywinpe" is the destination folder that you can choose.
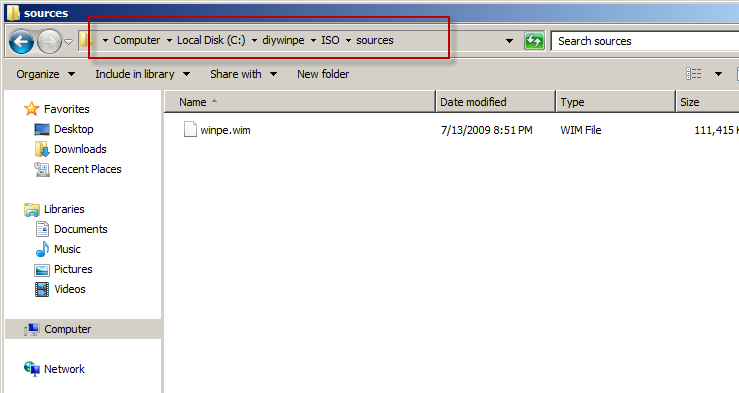
Step 10: Now open the "c:\diywinpw" folder and copy winpe.wim to the location: "c:\diywinpe\ISO\sources" and then rename it to "boot.wim"
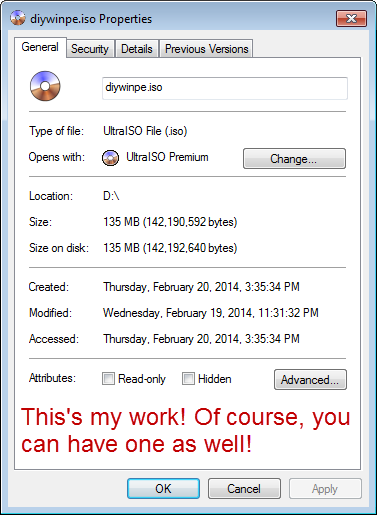
Step 11: Input and execute the command:
oscdimg –n –bc:\diywinpe\etfsboot.com c:\diywinpe\iso c:\diywinpe\diywinpe.iso
Note: There is no space between "-bc"

Step 12: Next, burn this *.iso file to a CD, DVD, or USB flash drive using a disk image software tool, such as ImgBurn (Burn to CD/DVD), UltraISO (Burn to USB flash drive) and so on.
Last but not least: Don't forget to label the CD, DVD or USB drive and keep it in a safe and private place.
Please go see: Easy Ways to Reset your Windows Login Password Safely
All the steps have been tested by ourselves. It proves that I am right. But if you find some one doesn’t work, please let me know.

Daossoft Software

