Daossoft iTunes Photo Rescuer is exclusive to recover lost photos or videos from iTunes backup files for iOS users. And this article is written to give more detailed guide on how to use it.
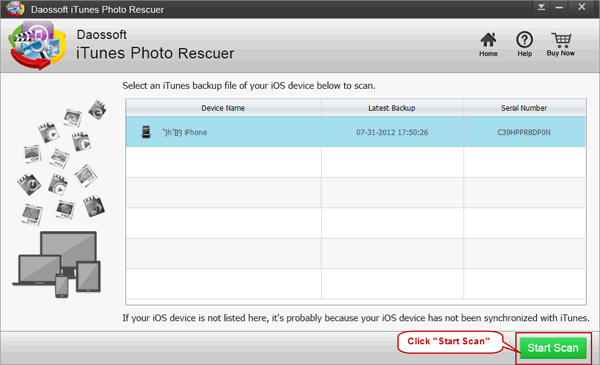
Step 1: Choose iTunes Backup
Install Daossoft iTunes Photo Rescuer on your PC and start it, and it will show you the following interface. It automatically lists all the backup files of your synced IOS device, and you choose the one you want to recover lost photos from. Then click “Start Scan” to scan the backup file.
Step 2: Preview and Select Photos
After scanning, you can preview photos now. If you want to preview photos in “Camera Roll”, click it first on the left and all its photos will display in thumbnail. And you can tick those photos you want to recover in the checkbox below that photo.

Or just select the whole file by ticking in the check box before it to recover all photos in it.

Also you can also preview photos in JPG format like the following screenshot shows. Previewing photos in other formats is similar.

Step 3: Recover Your Lost Photos
After your preview and selection of the photos you want to recover, now you click “Recover” button to recover like the following screenshot shows. But Attention here: Free Trial Version cannot really recover your lost photos. After you click the “Recover” button, it will prompt a window to hint you to name and select a proper save path for your recovered photos. After that, iTunes photo recovery is all done and the lost photos you want to recover come back again.

Now you can instantly recover your lost photo from itunes:

